
How to Organize a New Kitchen: What Goes Where (and Why It Can Change)
Mar 30, 2026
You're standing in a brand-new kitchen. New cabinets. Clean slate. And somehow it already feels stressful — like whatever you put in a cabinet today is locked in forever.
It's not. This is not a tattoo.
A new kitchen should be flexible — a living, breathing space that grows and changes as your needs do. The goal is not perfection on day one. It's function over time.
Step 1: Start With an Inventory
Before you organize anything, you need to know what you actually own.
- Pull everything out and group like items together
- Be honest about what you use daily vs. weekly vs. "why do I still have this?"
- Check that your pots, lids, and cookware are actually compatible
- Pare down — you can't organize what you can't see
Think of this as the edit that makes everything else possible.
Step 2: Organize by Usage — Not Just by Category
The old rule is "group like with like." That's a decent starting point, but the better question is:
Where do I actually use this — and who uses it, when, and how often?
A kitchen should reduce steps, not add them. The closer things are to where you use them, the easier every single day becomes. Ask yourself:
- How often do I use this? (Multiple times a day / daily / weekly / monthly?)
- Who in my household reaches for this — and from where?
- Does keeping it here save me steps or cost me steps?
Frequency of use determines proximity. Daily items live in the easiest-reach spots. Monthly items go below the counter or up high.
Step 3: Think in Zones, Not Just Cabinets
The most effective kitchens are built around activity zones — clusters of tools and supplies that live where you actually need them.
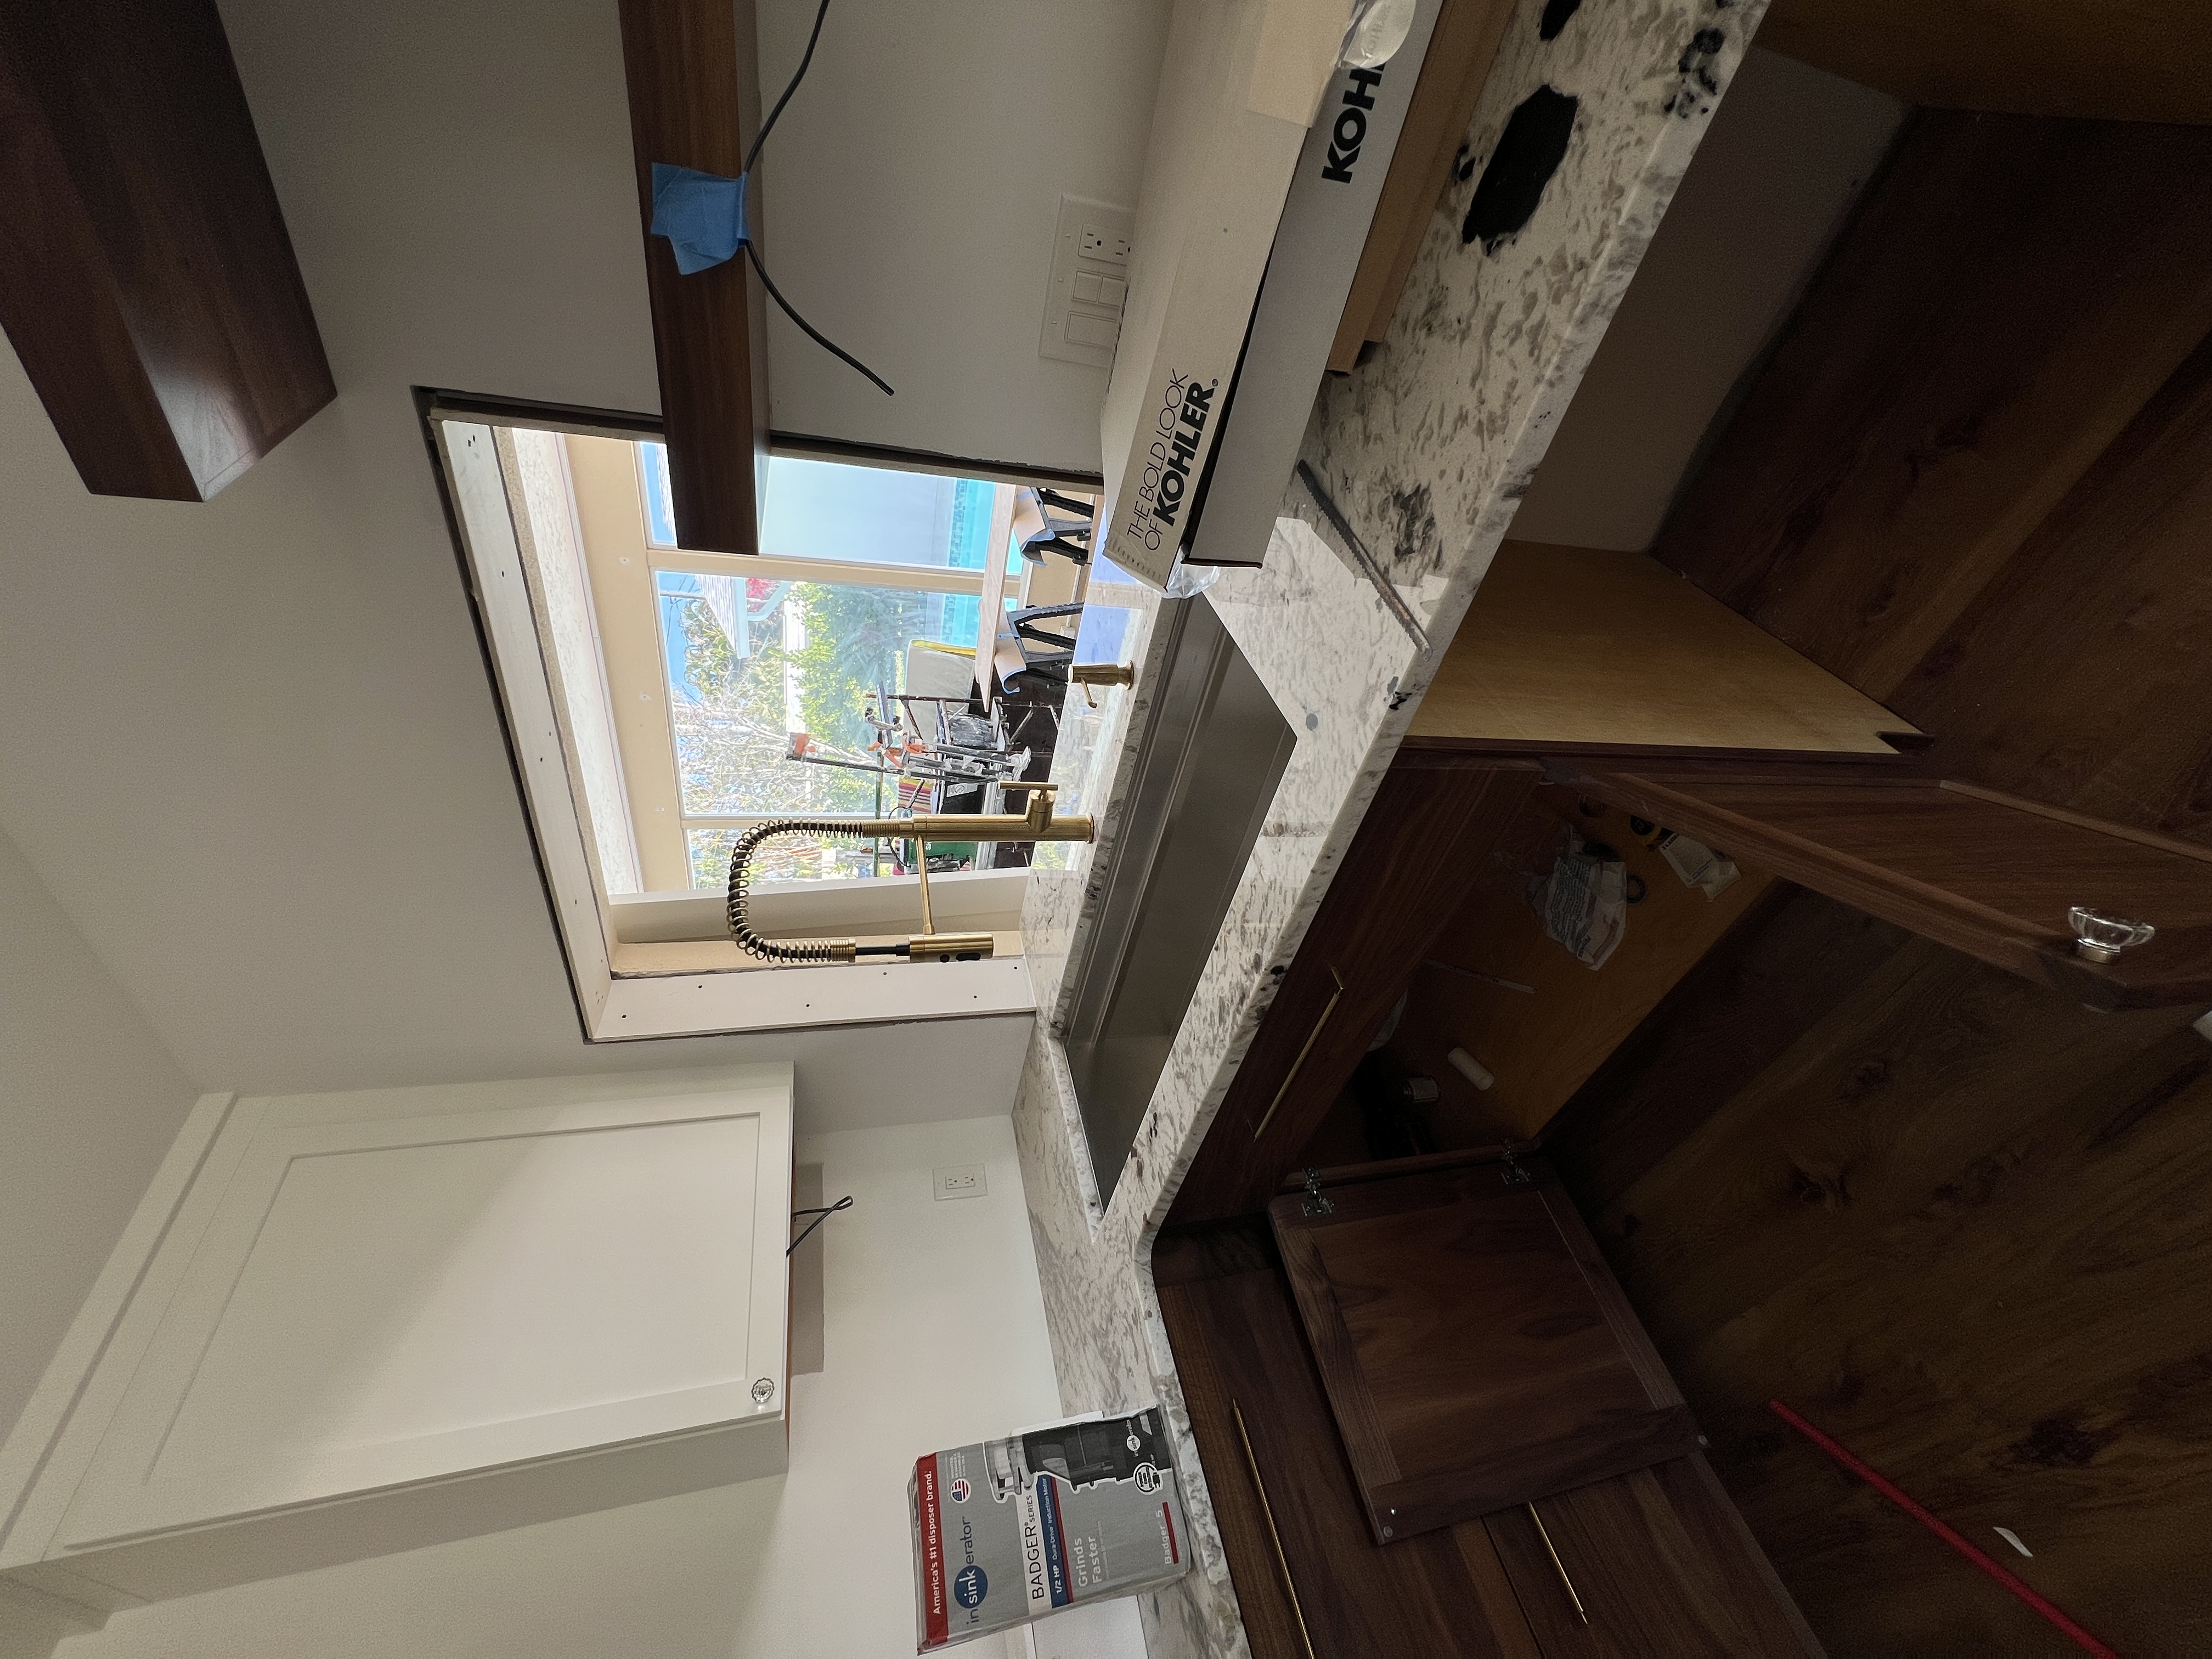
The Sink Zone
When you're standing at the sink, everything you need should be within arm's reach:
- Dish soap (consider a built-in dispenser to reduce counter clutter)
- Dishwasher pods
- Sponges and brushes
- Dish towels
- Trash and recycling nearby
Landing space matters here. Aim for 18–24" of clear counter on both sides of the sink for dirty dishes, drying racks, and unloading the dishwasher. If your layout doesn't allow for it, a deep workstation sink can give you that prep and landing surface within the same footprint.
The Dishwasher + Silverware Zone
This zone is all about speed. Ideally, your everyday dishes and silverware are:
- Close to the dishwasher for fast loading and unloading
- Out of the main cooking traffic path
- Positioned based on your handedness — righty or lefty affects what feels intuitive
The Fridge Zone
The fridge is one of the highest-traffic areas in any kitchen. Keep nearby:
- Everyday bowls and serving utensils
- Drinking glasses and cutting boards
- Strainers and colanders
- A drop zone for groceries coming in
The Range Zone
If you're cooking something hot, you shouldn't have to walk away to find what you need. Keep close to your stove:
- Sauté and frying pans (top drawers nearest the cooktop)
- Sheet pans and baking trays
- Cooking utensils — spatulas, tongs, wooden spoons
- Oven mitts and trivets
- Oils and spices you use daily
Landing space is critical here too. You need 12–24"+ of clear counter near the oven for hot pans, sheet trays, and plating food.
Drawer priority near the range:
- Top drawers → everyday pans and tools
- Second drawers → lids or less-used cookware
- Lower cabinets → large, heavy, or occasional-use items
Bending should be reserved for things you don't use every day.
The Prep Zone
Wherever you prep food — especially near the sink — keep:
- Cutting boards and knives
- Mixing bowls
- Colanders and prep utensils
- Easy trash access
You may have more than one prep zone depending on your kitchen size and how you cook. One for dinner prep, one for packing lunches — whatever matches your real routine.
Step 4: The Index Card Method
One of the smartest tricks I've seen from a subscriber on my Youtube channel: before putting a single thing away, create one index card (or sticky note) per drawer and cabinet. Write the dimensions and intended contents on each card, then lay them all out and allocate your space before loading anything.
This prevents:
- Overstuffed drawers
- Accidental junk zones
- Running out of room halfway through unpacking
Think of it as a floor plan for your storage.
Step 5: Organize for How You Actually Cook
New containers and shelf dividers won't save a layout built around an aspirational version of yourself.
If you don't reach for 20 spices on a weeknight, they don't need prime real estate on your counter or in your top drawers.
Organize for your real habits — the Tuesday night dinner, the school lunch rush, the weekend baking project. And be strategic about your personal workflow. If you like to face a window while you chop, your knife block and cutting board belong on that side of the kitchen.
Step 6: Give Yourself Permission to Change It
Nothing is final. After living in your kitchen for a few weeks, you'll notice:
- What's annoying to have to walk across the kitchen for
- What you reach for automatically — and whether it's actually there
- What made sense on paper but doesn't work in motion
Then move things. The best kitchens aren't organized once — they're refined over time. Your habits change with the seasons of life. The kitchen you need with little kids at home is completely different from the one you need a decade later. Let it evolve.
Pro tip: Rearrange one drawer and send the family on a scavenger hunt. Nothing stress-tests a new system faster — and it's very entertaining data.
The Bottom Line
A well-organized kitchen saves you time and energy every single day. Think lazy — fewer steps, less friction, less standing in front of an open cabinet wondering where things are.
Your new kitchen is a recipe in the making. Start smart, stay flexible, and keep refining it. Because the goal was never a perfect kitchen on day one — it was a kitchen that works better and better over time.
Best,
Liz
Get my FREE Kitchen Inventory Checklist

